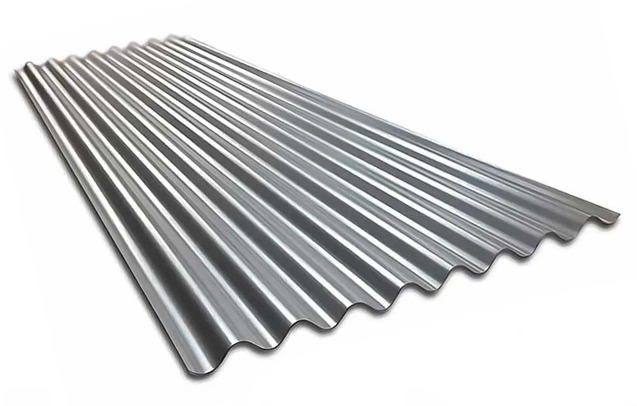
Installation Guide for Galvanized Corrugated Steel Plate: Tips and Techniques
Installing galvanized corrugated steel plate requires proper planning, preparation, and execution to ensure a successful and durable installation. Here is a comprehensive installation guide that provides tips and techniques for installing galvanized corrugated steel plates effectively:

Safety Precautions:
Wear appropriate personal protective equipment (PPE), including gloves, safety glasses, and steel-toed boots.
Use caution when handling sharp edges and tools.
Work with a team when handling large and heavy plates to prevent injuries.
Planning and Preparation:
Measure the installation area accurately and determine the quantity of steel plates required.
Ensure that the supporting structure is in good condition and capable of handling the load.
Check local building codes and regulations for specific requirements and guidelines.
Tools and Equipment:
Gather the necessary tools and equipment, including a measuring tape, chalk line, drill with appropriate bits, screwdriver, roofing nails or screws, and a saw for cutting the plates if needed.
Surface Preparation:
Clean the installation surface to remove any dirt, debris, or loose material.
Repair or replace damaged sections of the supporting structure as necessary.
Ensure the surface is level and free from any irregularities that may affect the installation.
Roofing Installation:
Start the installation at the bottom edge of the roof, aligning the first plate with the edge of the roof and overlapping any eaves or gutters.
Secure the first plate by drilling holes through the pre-marked locations and attaching it to the supporting structure using roofing nails or screws. Use neoprene washers for added weatherproofing.
Continue installing subsequent plates, ensuring proper overlap and alignment. Use a chalk line to maintain straight lines.
Cut the plates to size as needed using a saw with a blade suitable for cutting metal.
Overlap adjacent plates by at least one corrugation to ensure a watertight seal.
Wall Cladding Installation:
Install the first plate at the bottom of the wall, aligning it with the desired starting point.
Secure the plate to the wall using appropriate fasteners, such as screws or nails, ensuring they penetrate the supporting structure for secure attachment.
Install subsequent plates, overlapping them properly to create a seamless appearance.
Use a level or plumb line to ensure the plates are installed vertically and maintain consistent alignment.
Finishing Touches:
Trim any excess material using a saw or tin snips to achieve a clean and finished look.
Seal any gaps or joints with appropriate sealants or flashing materials to prevent water infiltration.
Conduct a thorough inspection of the installation to ensure proper attachment, alignment, and weatherproofing.
Maintenance:
Regularly inspect the galvanized steel plates for any signs of damage, rust, or loose fasteners.
Clean the plates periodically to remove dirt, debris, and potential contaminants.
Address any repairs or maintenance issues promptly to extend the lifespan of the installation.
It's essential to consult the manufacturer's guidelines and specifications for specific recommendations on installation techniques and best practices. Following this installation guide and employing proper techniques will help ensure a successful and long-lasting installation of galvanized corrugated steel plates.
278
0
0


Comments
All Comments (0)